Hi Everyone! I hope y’all are staying safe.
Work on NanoEFI in the past month (really since May) has revolved around building up the funding and equipment necessary to support our next steps forward.
Money Money Money!
If you’ve been around a while, you probably already know that the money behind NanoEFI’s development is a mix of self-funding from me personally, along with an awesome monthly boost from our Patreon contributors (thanks guys!!  ).
).
What I pump into the piggy comes from my day job as a developer. There’s a bit of give-and-take on time, as focusing on outside work to generate funding slows down direct progress. But allows us to take other steps forward beyond just the board and code. So to that end, I’ve been on the grind lately to help get us set up with what we need for BETA. Coin has been stacked, and subsequently dropped. Here are the goodies so far.
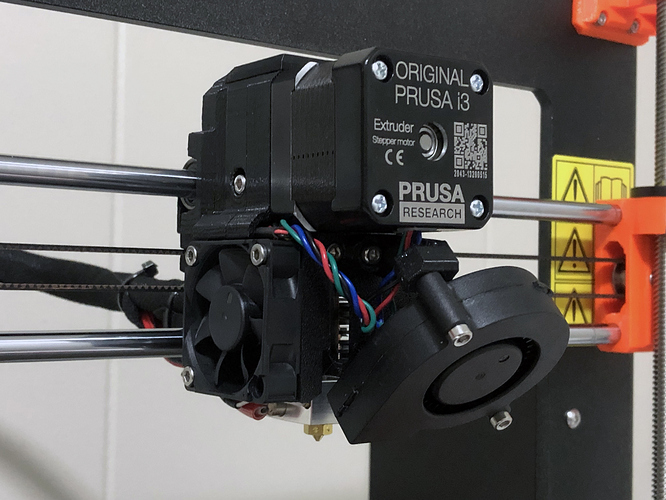
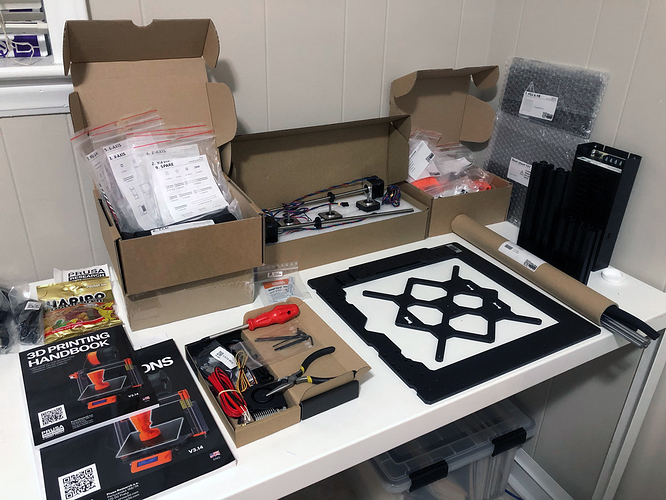
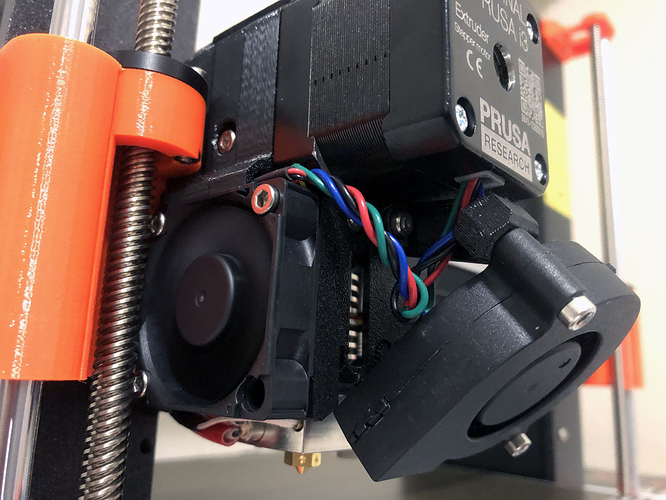
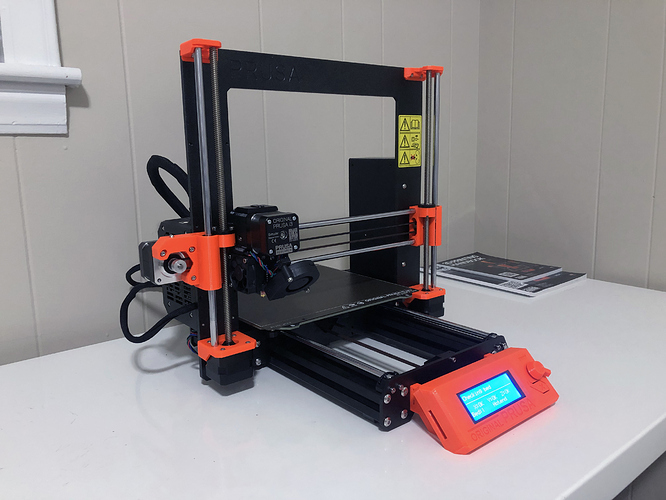
Prusa i3 MK3S 3D Printer
My old 2015 DaVinci 1.0a printer has been really showing its age recently. It’s just not able to keep up with the project anymore. Time is scarce and I’ve been having to spend a lot of extra effort modeling things around the printer’s limitations, rather than going straight for the best way to accomplish what particular printed thing needs to do. So it’s time for an upgrade!
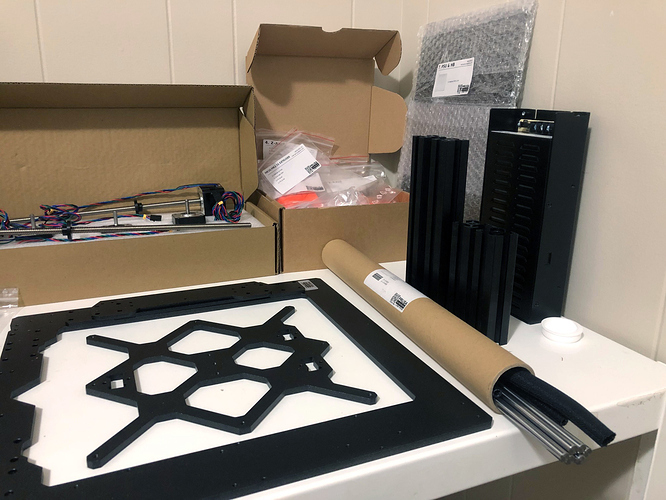
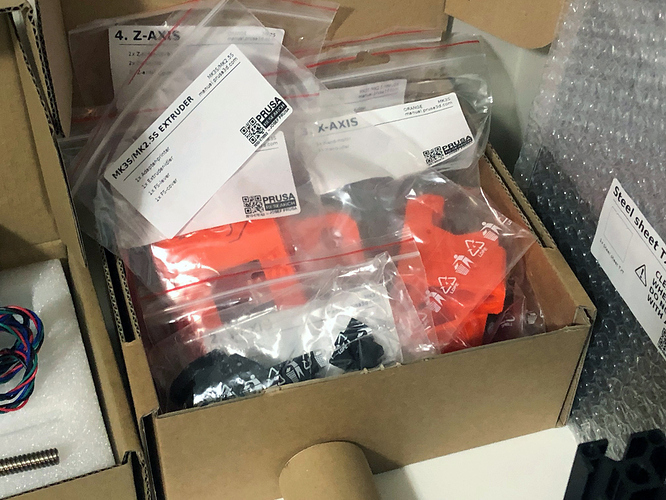
Some assembly required. Not a problem.
The back-order wait on these turned out to be well worth it IMO. This thing is great.
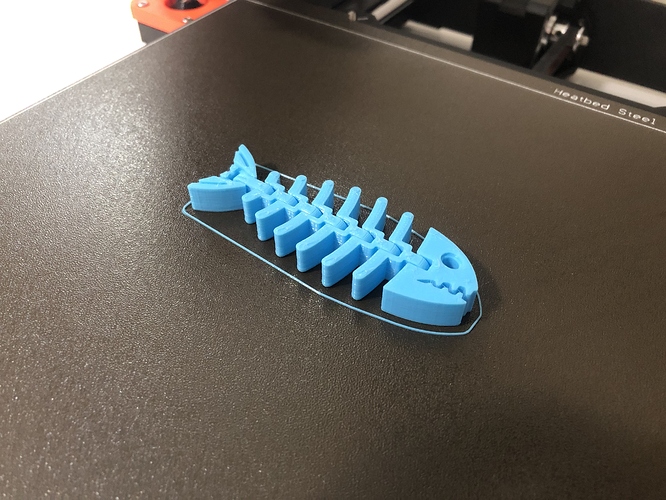
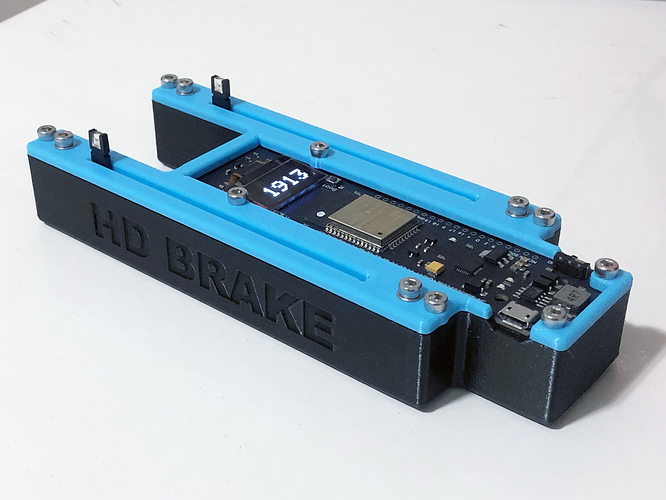
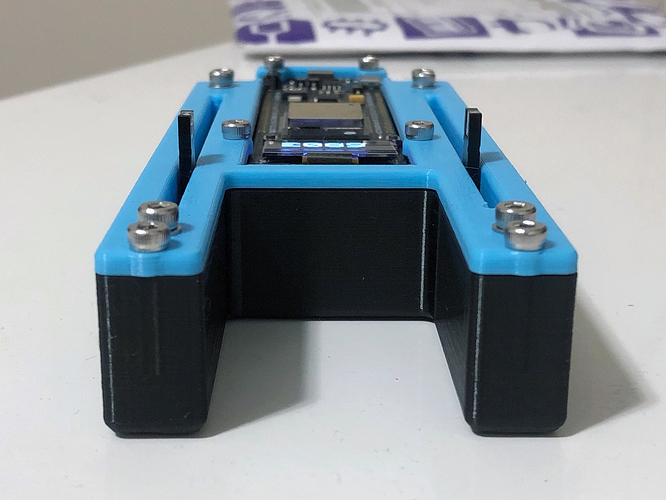
Already reprinted the tuning fork. The next iteration will will have the screws recessed and inserted from the bottom. 'cause bridge infills are a thing, and we can do that now. 
V1 Engineering MPCNC (“Mostly Printed” CNC Mill)
Hey! We got a mill! Not my first, but by far my lightest.
We needed a good way to modify plastic ECU enclosures. As well as a way to machine aluminum weld-in injector seats (bungs) for intakes.
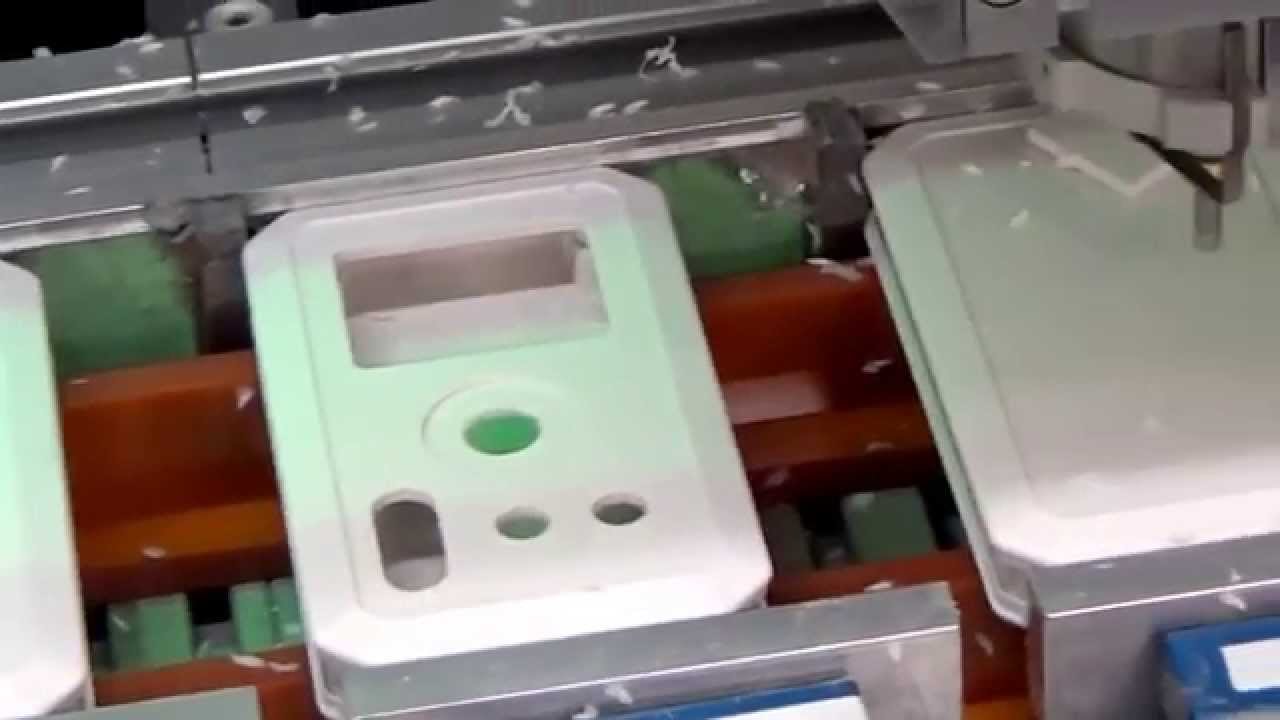
About enclosures: The plan is to eventually design a custom enclosure and have it produced in quantity when the volume and economics make sense. But for now and through BETA, we’ll be modifying and using an existing automotive enclosure that matches our 24-pin connector. Costs for enclosure machining services are around $1 each if we just want the bare minimum of cutouts. Or up to $3.50 each for the level of customization I feel the product really needs. This is what that process looks like.
Pretty slick, but those costs add up pretty quickly. Looking at the numbers, it made sense to look into options for machining these in-house. Doing it here would help keep final prices low, and as an added benefit have the additional equipment on hand for other prototyping.
I’m familiar with and have operated 2hp+ mills in the past. All that would be overkill and over budget. We only require something capable of machining plastics (and softer metals). Production speed isn’t a concern. It’s just needed for prototyping and BETA. And of course, have I mentioned that it needs to be low cost?
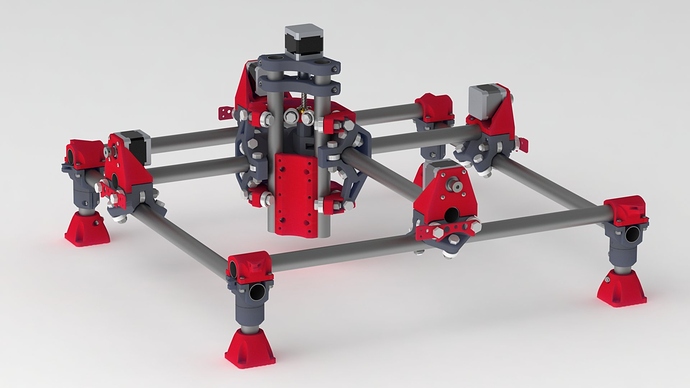
Turns out that the community has come pretty far lately with super affordable DIY CNC milling/routing machines. I discovered the V1 Engineering MPCNC system, and knew right away that this was our solution. Go into it with the right expectations, and this machine is awesome.
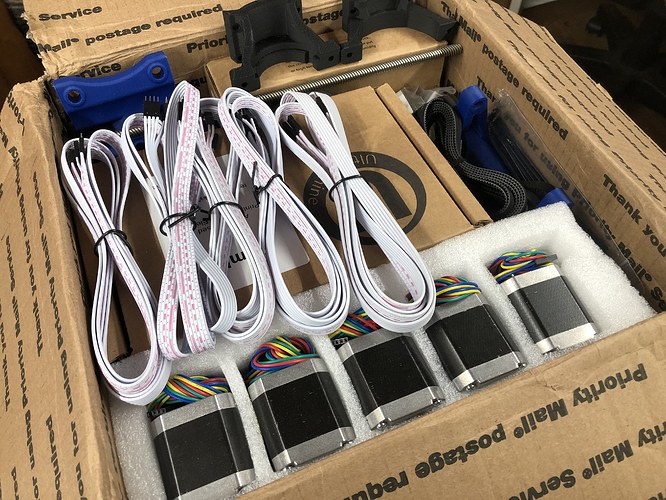
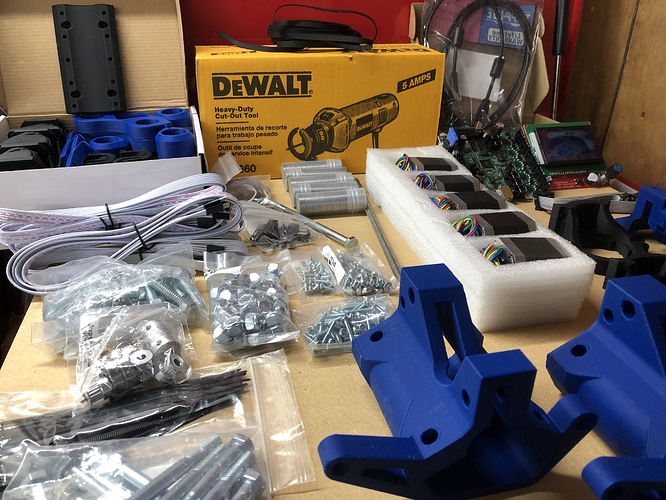
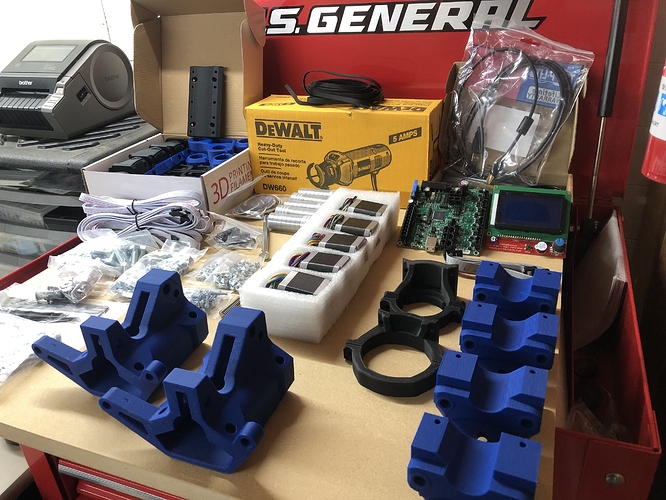
Super low cost, 3D printed components, and inexpensive 3/4" EMT for rails in the cheapest configuration. So I ordered a kit.
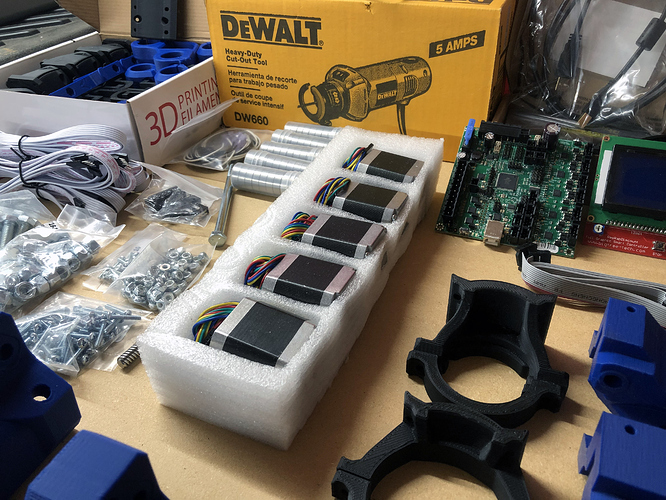
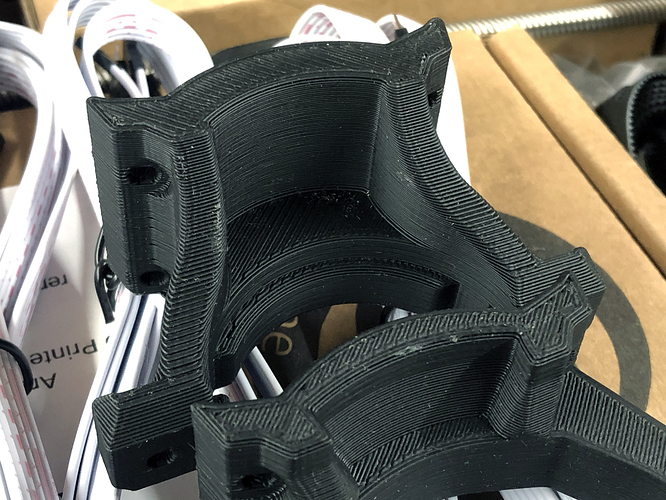
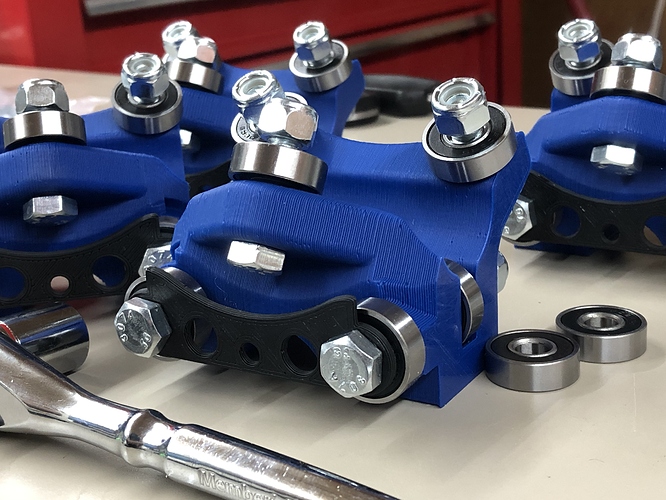
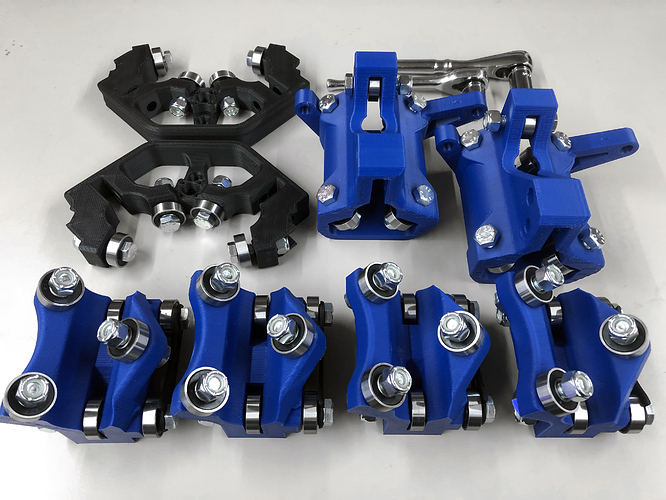
More assembly required. Just part of the fun.
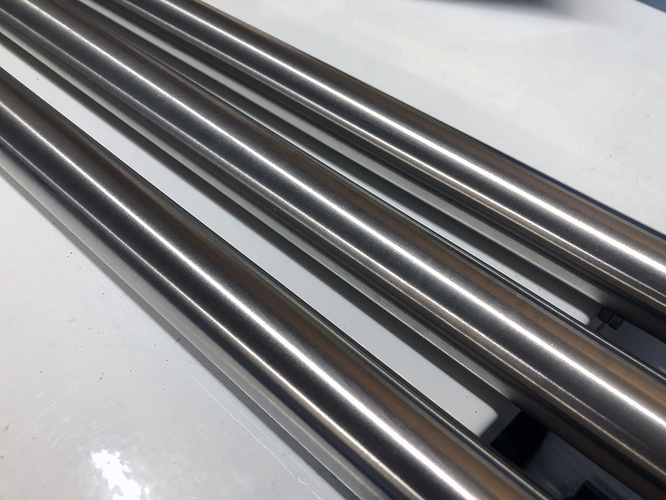
I decided to spend a little extra and went with the 1" Stainless Steel rails versus 3/4" EMT. The additional rigidity may not be necessary in the end, but I figured it would be a good investment since we’ll be machining 6061 aluminum for those injector seats.
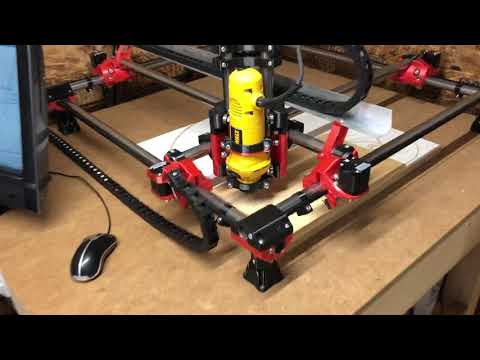
Since I don’t need it immediately, I’m only about half finished putting together the MPCNC at this point. Here’s someone else’s video for reference.
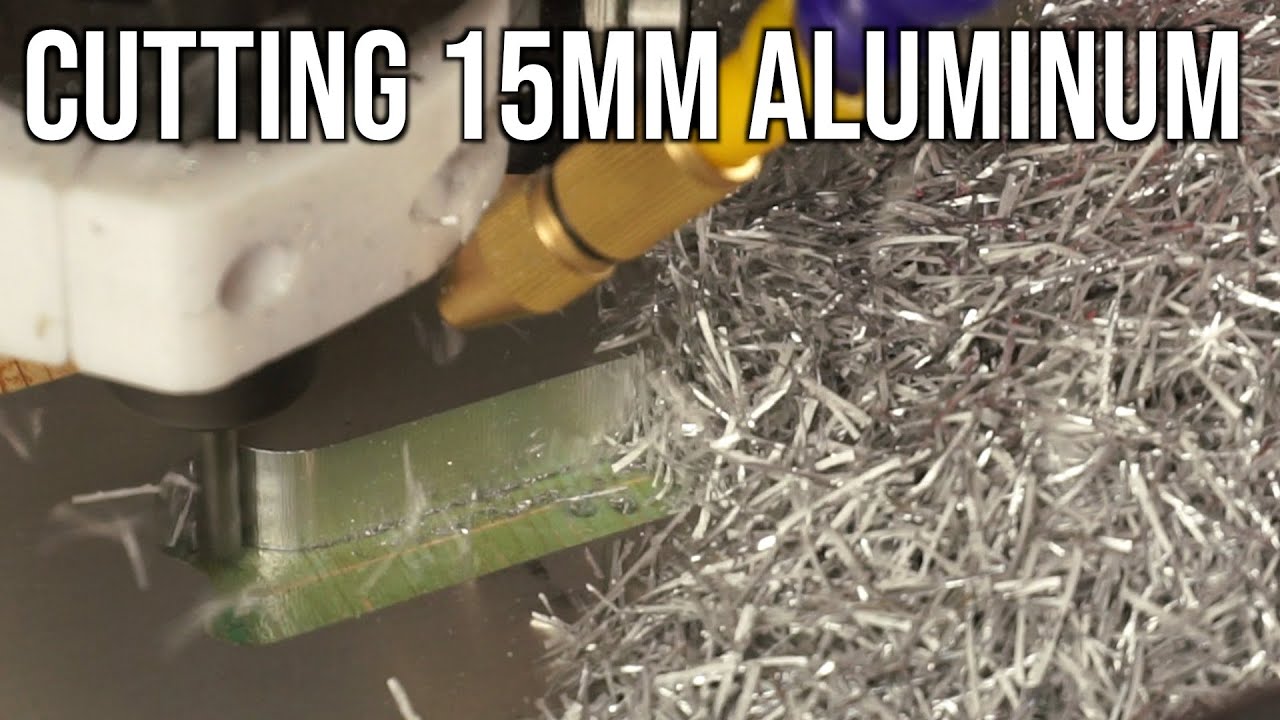
With careful job planning, the MPCNC appears to be no slouch machining aluminum. I’m impressed, those chips are amazing coming from a 3D printed mill.
Lincoln TIG200 Welder
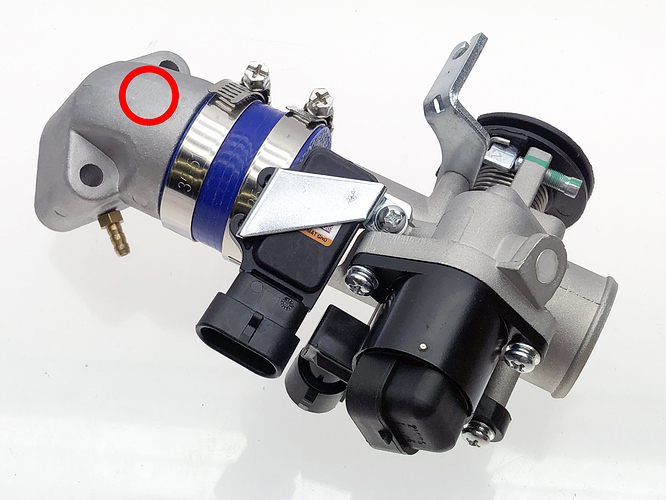
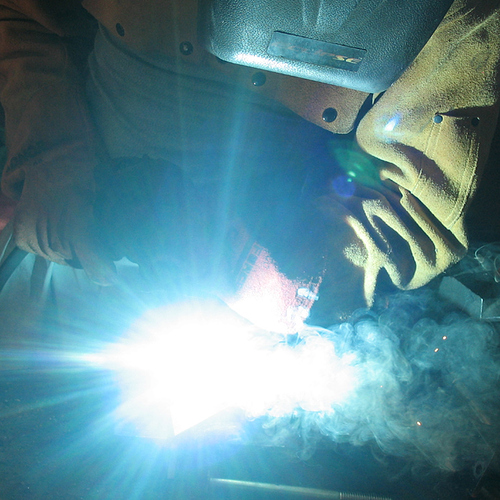
As part of some model-specific kits (like the GY6) I’ll be welding injector seats into the intake. I’ve seen some competing kits use epoxy to add injectors to an otherwise stock intake tract, and I don’t like that very much. It’s gotta be welded and each one pressure tested if I’m going to put my name on it.
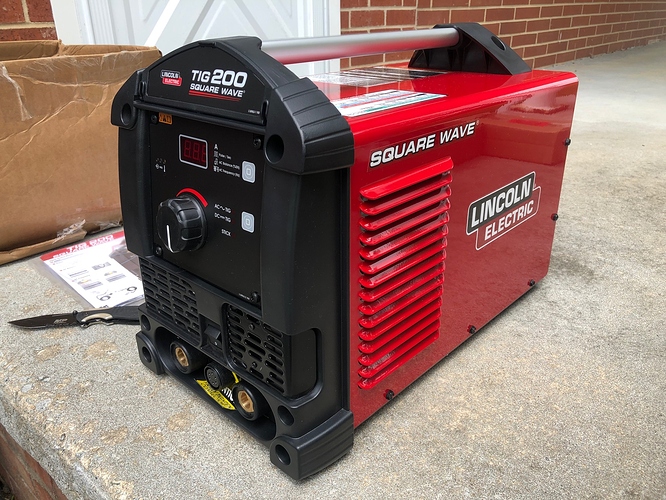
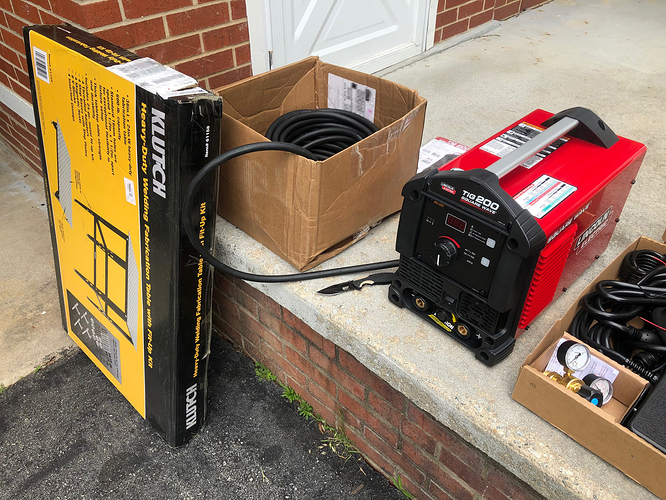
So I pulled the trigger on a TIG200 welder from Lincoln Electric. There are other options that fit in the same price bracket, but I’ve had good experiences with Lincoln’s MIG machines in the past.
I should probably clarify right away that I’m not planning to do any one-off work installing bungs on send-in intakes/exhausts (sorry guys). Just batching out fully-jigged production of new pieces so I can keep things efficient and not get bogged down. Remember, it’s just me out here. 
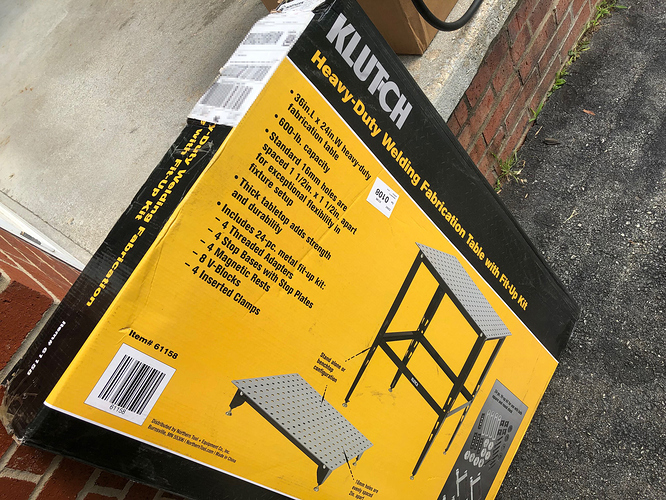
I’ve made my own welding tables before, but I already have enough stuff to figure out for now. And it would mean making a weekend trip to the shop in Virginia anyway. This Klutch table from Northern Tool is a good value. The rigging is okay, but the table itself is very good IMO. Much heavier than expected.
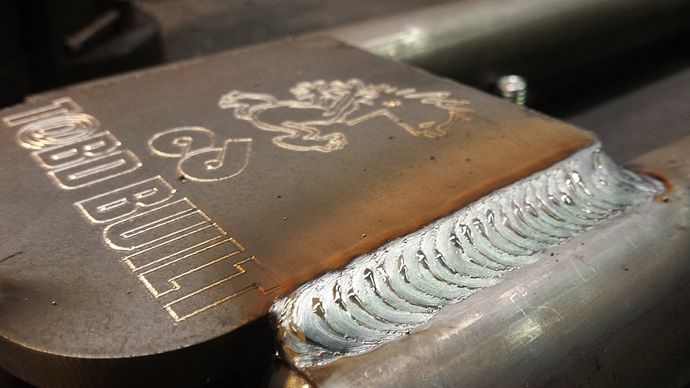
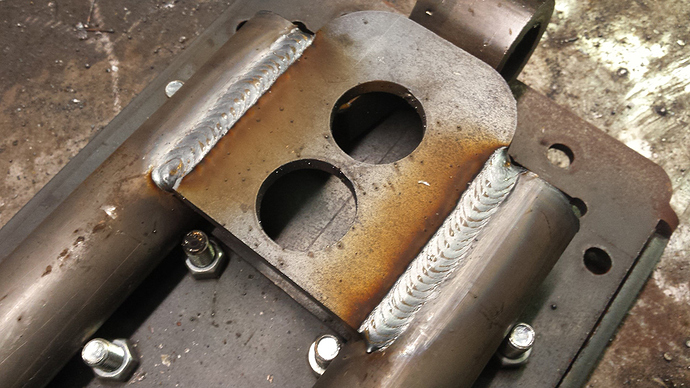
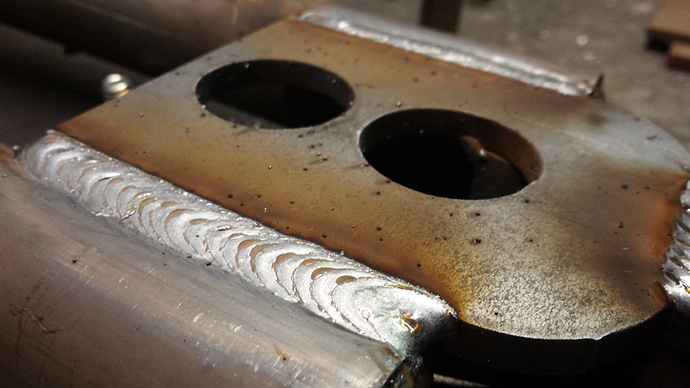
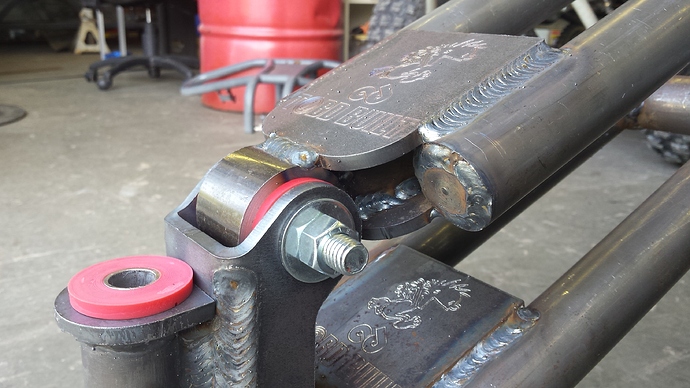
I used to build modified suspension kits in a previous life. Here’s an example of my MIG work from the time. I do miss it sometimes, looking forward to getting up to speed with the TIG process and start cranking out some good looking intakes for you guys.
New NanoEFI Board v0.2.1 is in
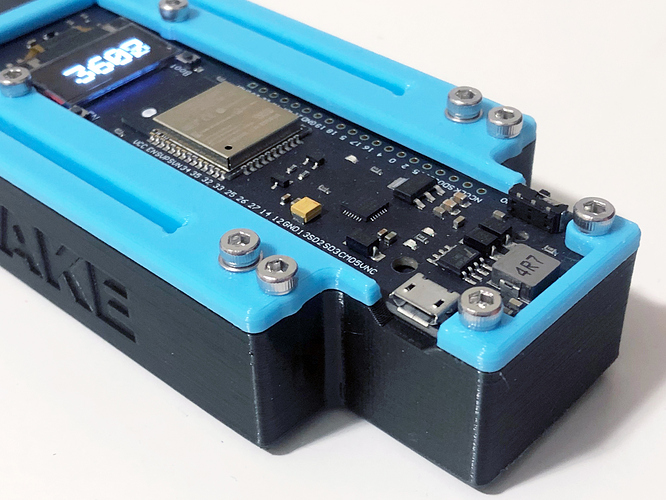
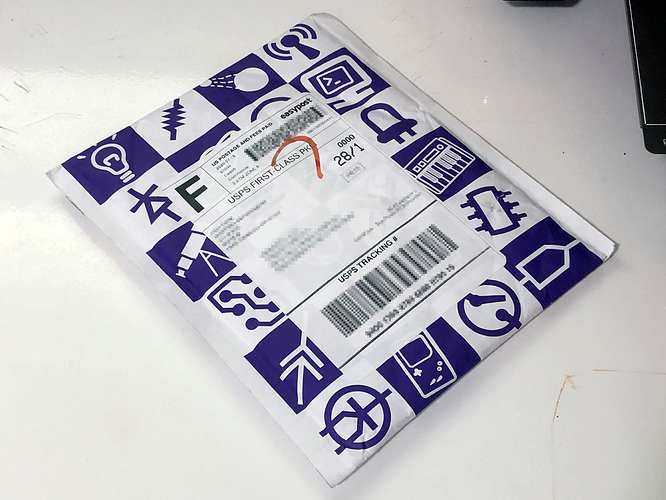
It’s always fun seeing a new purple envelope in the mailbox. This latest board v0.2.1 has several minor corrections related to labeling and circuit routing, but no component changes. Specifically, the analog input and power regulation circuits needed tweaking. I wanted to test these fixes out before committing them v0.3.0, which is a deeper board layout overhaul I’m working on to accommodate the 24-pin ECU connector and a reduced board size.
For now, these are 99.9% the same as the last version so nothing new to report. The first ECU assembled from this batch will be used in a new test station dedicated to injector and fuel pump work.
